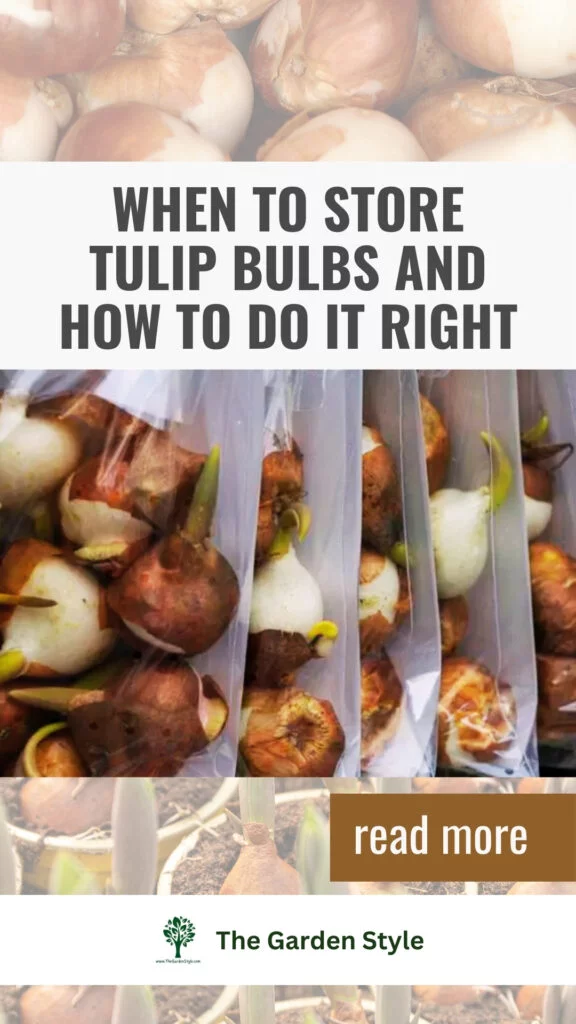
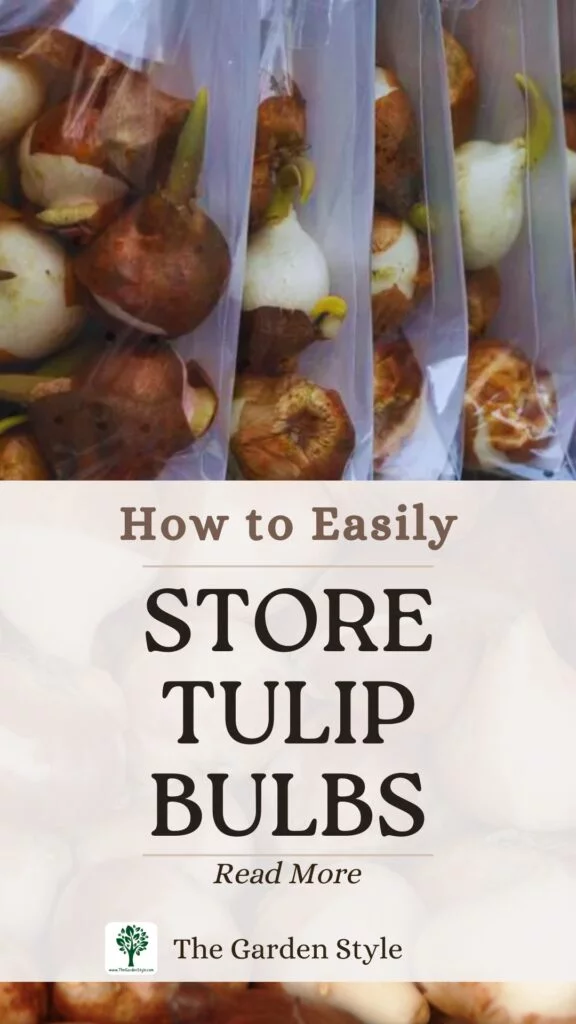
Discover the art of preserving tulip bulbs for re-growing them in thriving seasons ahead! From frost-prone climates to hydroponic havens, explore why lifting and storing tulip bulbs is essential. Uncover expert techniques to safeguard bulbs from rot, pests, and premature sprouting, ensuring their vitality until the next planting season. Join us as we delve into the step-by-step process of storing tulip bulbs and sidestep common pitfalls. In this article, learn step-by-step how to store tulip bulbs and preserve them successfully for the next season.
In the northern hemisphere, the ideal time for storing tulip bulbs as a recurring annual activity typically falls between late May and early July. This timeframe aligns with the end of the tulip’s natural growing cycle and precedes the onset of summer heat.
With over 5,000 varieties, hybrids, and cultivars flourishing today, tulips have emerged as an emblem of the Netherlands, proudly declared as the nation’s official flower. While the Netherlands boasts particular renown for tulip cultivation, its popularity extends across numerous countries worldwide.
Table of Contents
When to Store Tulip Bulbs: Recommended Times and Situations
Explore the diverse scenarios that prompt the recommended storage of tulip bulbs for optimal preservation and successful replanting.
- In regions with extremely cold winters where soil freezing is common, it is advisable to remove tulip bulbs from the ground and store them until the next planting season. Leaving tulip bulbs in the ground under such conditions can lead to frost damage, reducing their viability or even causing their death.
- In areas experiencing prolonged periods of heavy rain or waterlogging during winter, it is also advisable to remove tulip bulbs from the ground and store them until the next planting season. Storing tulip bulbs prevents rot, which can occur when bulbs are left in excessively wet soil.
- When gardeners intend to redesign or replant the area where tulips are currently growing, they should remove the bulbs from the ground and store them for future use. Removing and storing bulbs allows for easy maintenance of the garden space and facilitates the replanting process.
- If there is a desire to protect bulbs from pests or diseases present in the soil, it is advisable to remove them from the ground or pots and store them until the next planting season. Storing bulbs prevents potential infestations or infections during the dormant period.
- For tulip bulbs grown hydroponically in water, especially in glass containers, you should remove and store them to re-grow them next season. Removing bulbs from the water and storing them properly ensures their health and viability for future use.
- Lastly, when we buy tulip bulbs too early (or too late in an end-of-season sale), we may need to store them properly until the next planting season.
How to Store Tulip Bulbs (Step by Step)
When it comes to tulips, the usual advice is to keep the bulbs planted all year round to ensure vibrant blooms. Nevertheless, there are occasions when storing them becomes necessary, as outlined in the preceding section.
Preparation
It is also possible that we will have to remove our planted bulbs to put them under cover from the coldest weeks of winter. In any case, if you are wondering how to store tulip bulbs, follow these steps:
- Cut the stems: Use properly sterilized pruning shears to cut the bulbs of planted tulips when their flowers have already died. This prevents the plant from wasting energy on maintaining parts that would soon die anyway. Cut as close to the ground as you can, but cut only the stem, not the leaves.
- Wait for the leaves to dry out and turn yellow. This takes about six weeks or so, during which time the bulb will have stored energy from the sun thanks to its leaves. During this time, reduce watering the tulips to avoid rotting problems. Use a shovel to loosen the soil around the bulb, and finally, remove it carefully.
- Remove the roots and leaves. By now, they should come off easily with the same hand without you needing to resort to scissors. Even so, if they do not come off, use a sterilized pruning tool, the same one with which you should cut what is left of the stem as close as you can to the base of the bulb without damaging it.
- Clean the bulbs: carefully remove any dirt, dust, dirt, or anything else with kitchen paper.
- Look for bulbs in poor condition: a tulip bulb should be hard and smooth. If you see soft or dark brown areas, this indicates rotting problems. You can either discard the bulb directly or try to clean the affected area with your paper towel. You can even prune the affected part if it is not too large.
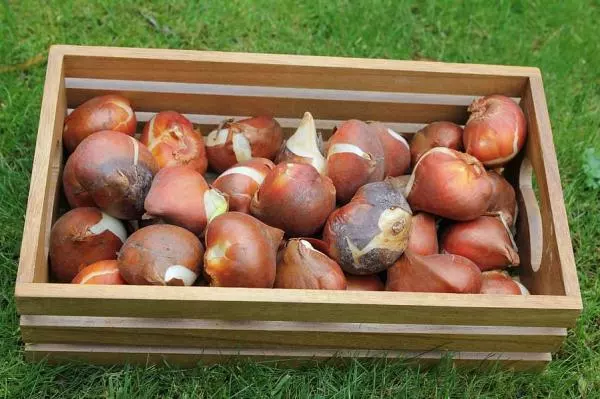
- Store the bulbs in a cool, dry place for about 48 hours: they should not be exposed to sunlight or humidity, either of which can cause rotting.
- Wrap each bulb in a newspaper: do this separately and choose where to store them. You can hang them in a typical onion or potato net in a cool, dark room such as a garage, in a closet, or, if your climate is very hot, in the refrigerator. However, be aware of the recommendations below if you choose the latter option.
Storing Tulip Bulbs
Storing tulip bulbs in bags with small holes can be beneficial as it allows for adequate airflow, which helps prevent moisture buildup and reduces the risk of rotting. However, it’s essential to ensure that the bulbs are not exposed to direct sunlight and that the storage area maintains a cool, dry environment. Additionally, using breathable bags or containers with holes can help protect the bulbs from pests while allowing them to remain dormant until planting time.
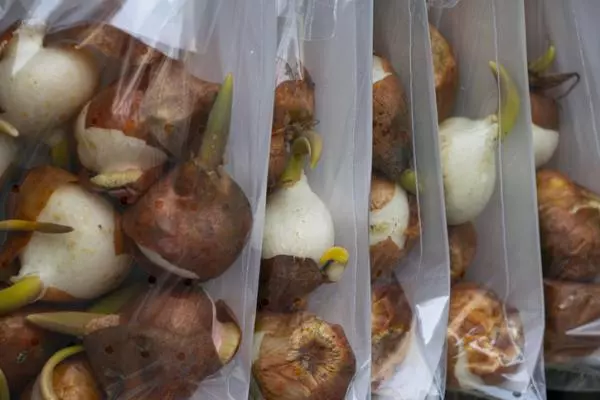
With or without craft paper, both options work well. However, it’s crucial to ensure that the bags contain at least one section made of clear plastic with micro-perforations. These features facilitate easy inspection of the bulbs and allow spraying water or regulating the humidity if necessary during preservation.

- Micro-Perforated: Micro perforation makes hot air escape and slow the oxogen come in to connect the food, Keeps bread fresher longer
I prefer clear plastic bags with micro-perforations because they make it easy to inspect the bulbs and spray them with water if needed during preservation. However, alternatively, the same hanging bags used to dry and preserve onions, potatoes, and garlic are also great for storing tulip bulbs.

- 5 Pack Multipurpose Net Produce Bag for Home RV Camper Storage: breathable and hanging storage mesh bag can be used as potatoes bag, tomatoes bags,…
By following these steps, you can effectively preserve your tulip bulbs, ensuring they remain healthy and ready for future planting seasons.
Regular Maintenance When Storing and Replanting
Monitor Tulip Bulb Condition Regularly: It’s important to assess the condition of your bulbs periodically. If you notice they are becoming excessively shriveled or dry, consider lightly spraying them with water to maintain adequate moisture levels and prevent deterioration.
Prepare for Autumn Planting: As autumn approaches, but before the first frost sets in, plan to replant your tulip bulbs. This optimal timing ensures they have ample time to establish themselves before winter dormancy. By maintaining vigilance over your bulbs’ health and adhering to timely replanting schedules, you can optimize their longevity and vitality for successive growing seasons.
The best time to plant tulip bulbs is in autumn. Bulbs can’t withstand ground temperatures below 14°F (-10°C), so if we buy them in spring or live in a region with harsh winters, storing them until the right planting time is essential. Recommended article for you: How to Plant Tulip Bulbs and How to Grow Tulip Bulbs in Water.
In addition, the information shared in this article is helpful in learning how to re-grow bulbs after preserving them. Here are some guides to learn how to plant some of the most common fall bulbs: daffodil bulbs, crocus, freesias, etc.
Avoiding Common Pitfalls and Maximizing Preservation
When storing and preserving tulip bulbs, there are several common mistakes and errors to avoid to ensure their health and successful growth:
- Inadequate Drying: Failing to dry bulbs thoroughly before storage can lead to rotting. Proper curing allows excess moisture to evaporate, reducing the risk of fungal growth.
- Improper Storage Conditions: Storing bulbs in areas with fluctuating temperatures, high humidity, or direct sunlight can promote rot and fungal diseases. Bulbs should be stored in a cool, dry, and well-ventilated space.
- Overcrowding: Storing bulbs too closely together can restrict airflow and increase the risk of disease transmission. Bulbs should be stored in a single layer or spaced apart to allow for proper ventilation.
- Ignoring Inspection: Neglecting to inspect bulbs for signs of damage, disease, or pests before storage can lead to the storage of unhealthy bulbs, which may infect other bulbs or deteriorate over time.
- Using Improper Containers: Storing bulbs in airtight containers or plastic bags can trap moisture and promote rot. Opt for breathable containers or paper bags instead.
- Skipping Labeling: Failing to label bulbs with their variety, planting depth, or other relevant information can lead to confusion during planting. Proper labeling ensures bulbs are planted correctly in the next season.
- Not Monitoring: Neglecting to check stored bulbs for signs of decay or dehydration periodically can result in unnoticed problems that worsen over time. Regular monitoring ensures early detection and intervention if issues arise.
- Storing Unhealthy Bulbs: Storing bulbs that show signs of damage, disease, or rot can spread infections to healthy bulbs. Discard unhealthy bulbs before storage to prevent further spread.
By avoiding these common mistakes, gardeners can effectively preserve tulip bulbs and ensure successful replanting in the next growing season.
How Long Do Tulip Bulbs Last?
The lifespan of tulip bulbs can vary depending on various factors such as storage conditions, bulb variety, and climate. Generally, properly stored tulip bulbs can last anywhere from one to three years or even longer. However, their viability may gradually decrease over time, leading to reduced flowering success.
It’s essential to store tulip bulbs in a cool, dry place with good airflow to maximize their longevity. Regularly inspecting bulbs for signs of deterioration and replanting them promptly can also help maintain their vitality.
Before we wrap up, remember: dedicating just a bit of time and care to properly storing your tulip bulbs guarantees a stunning and lively showcase in future seasons. I’m confident that this guide will tremendously benefit you.
Pin it for later and share it with family and friends!