If you want to learn How to Repot Hydrangeas and When to Repot Hydrangeas, the right way, to bring them to an ideal location for them, join us in this complete guide.
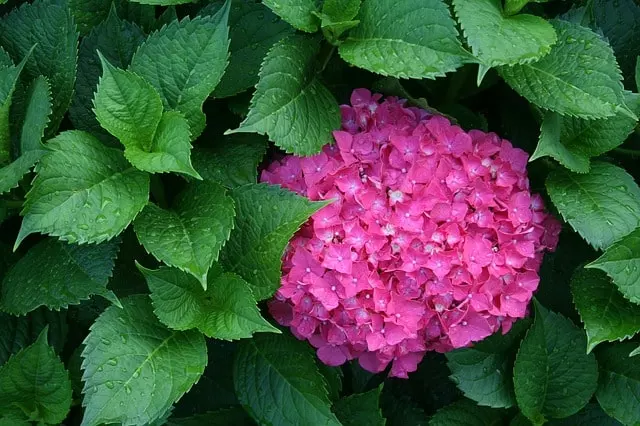
Hydrangeas are shrubby plants originating in the American and Asian continents, characterized by the spectacular beauty of their white, pink, or blue inflorescences. They are especially popular in Japan, Korea, and China, although they are cultivated as ornamental plants all over the world.
However, hydrangea care can be somewhat demanding in terms of soil, and it is very common to find these plants in poor condition because they do not have the soil they need.
In this guide, you will find the tips when repotting hydrangeas for a successful repot, to ensure a successful repotting while maintaining the best possible flowering of your potted hydrangeas.
Table of Contents
When to Repot Hydrangeas?
When to Repot Hydrangeas? Unlike pruning, where you must wait until the Hydrangea is in a dormancy period to minimize the health risk to the potted Hydrangea, repotting will work best when the plant is active and strong.
When Is The Best Time to Repot Hydrangeas?
The best time to repot hydrangeas is in early spring. When the hydrangea has come out of dormancy and has the energy to adjust to its new habitat before the sweltering summer temperatures arrive and put it under further stress.
If the climate in your area is not particularly cold, you can also try repotting your hydrangeas in late winter. This is especially recommended when repotting hydrangeas in poor condition that have been drastically pruned to rejuvenate them.
The plant will take longer to adapt to the new environment, but in return, the pruning will be less damaging to it and its root system will not suffer as much.
Tools For Repotting Hydrangeas
When repotting hydrangeas, be sure to use the right Tools For Repotting Hydrangeas.
- Sharp and Disinfected tools (if some cuttings and small trimming if needed)
- A shovel and gardening gloves
- A pot (big enough), with holes in the bottom
- Small stones to cover the bottom of your new pot to facilitate drainage (optional – if you choose a good substrate for Hydrangeas, and a good pot, stones in the bottom are not needed)
- Best Soil for Hydrangeas
- Fertilizer for Hydrangeas
- pH meter, to check soil pH
How to Repot Hydrangeas
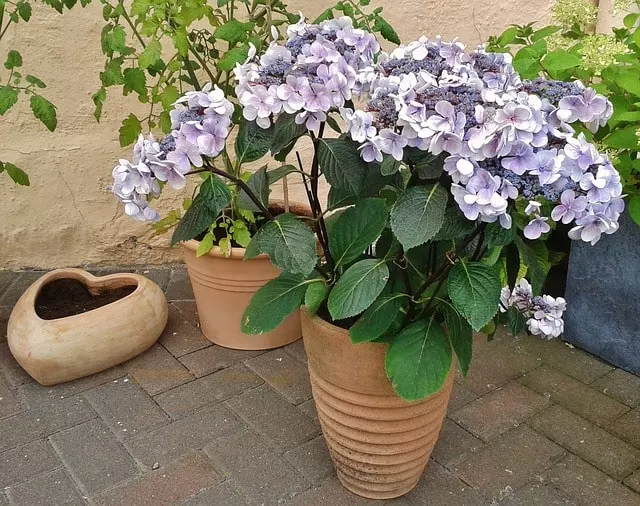
Since potted hydrangea is an outdoor plant, look for pots with durable, large, good-quality materials and with holes in the bottom.
Ideally, you should always have tools that are as sharp as possible and properly disinfected before you make any cuttings or trimming.
If you are simply repotting a whole hydrangeas plant, you probably won’t need to prune anything unless some parts are in bad shape.
How to Repot Hydrangeas with the Right Tools for Repoting? You will probably need a shovel and gardening gloves if you don’t want to get your hands too dirty, but they don’t need to be protected as these plants have no spikes or harmful substances to irritate.
Next, and also the most important thing, will be to prepare a pot large enough if you are going to put it back in a pot, or the soil area of the garden, and also prepare the soil in which you are going to repot the hydrangea.
Hydrangeas are acidophilic plants, that is, they need acidic soils to develop properly. The pH of the soil in which the hydrangea is placed should be between 5.5 and 6.5, or the plant will eventually experience difficulties in getting its nutrients, and signs of chlorosis will appear.
It is advisable to start from a new acid soil, which will be rich in the nutrients that potted hydrangeas will need to adapt quickly to the new environment. We seek to minimize the stress of the change and to achieve a good adaptation favoring the next flowering. Therefore, offer your potted hydrangeas a good quality acidic, sterile, or good commercial quality soil to avoid root infections during repotting.
Proper flowering depends on the pH of the soil that the hydrangea was fed in previous stages. The best practice is to measure the pH of the soil of our hydrangeas periodically and adjust it if necessary.
Before repotting the hydrangea I would strongly recommend checking the soil pH. If you don’t know How to Measure Soil pH, we recommend this article for you.
How to Adjust the pH Soil Before Repotting Hydrangeas
How to Adjust the pH Soil Before Repotting Hydrangeas. Briefly I explain what to do if the pH of the soil is not suitable for repotting hydrangeas.
If the pH of the soil is above 6.5, you will add a little soil acidifier in the proportion recommended by the seller and mix very well before making new pH measurements.
If the soil pH is below 5.5, it means that the soil is too acidic for hydrangeas. Although we say that hydrangeas like acidic soil if the soil is too acidic the plant can also die. So what you will do is de-acidify the soil (in other words make it a little more basic, although it will still be acidic). You will see that in the market there are acidifiers (we use them when we want to lower the pH) and deacidifiers or alcalinizers (we use them when we are below the desired pH).
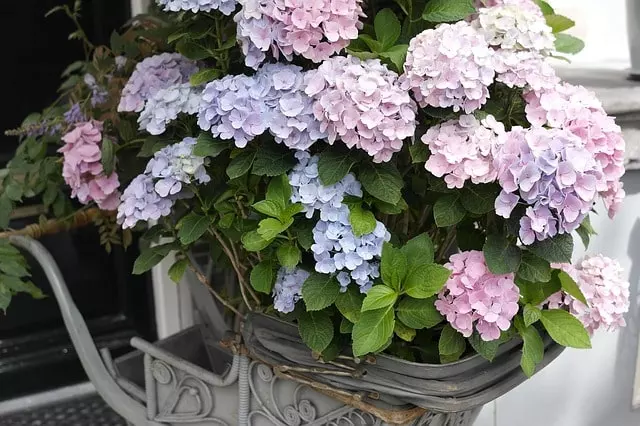
At this point, it is important to emphasize that although hydrangea flowers can change color depending on the acidity of the soil, they should always be grown in acidic soil, or they will eventually experience health problems.
Thus, get soil for acidophilic plants, or fertilizer that acidifies the soil. It is also possible to use products such as sulfur or iron sulfate, always in measured amounts, to acidify the soil.
A good natural way to acidify the soil is to mulch with pine bark, which will also achieve great results.
Here are our recommended products when repotting hydrangeas and for growing hydrangeas in your garden.

- Kindly NOTE: This soil tester can not be applied to test pH value of any other liquid. If the soil is too dry the indicator will not move, and water it before testing.
- 3 METERS IN ONE: Soil moisture level, Soil pH value and Sunlight level could be tested easily according to your need by switching the function button of this soil meter.
- NO BATTERY NEEDED: Simply insert the meter into soil, wait few minutes, accurate test results will be displayed on the readout panel. No battery is needed.

- Organic granular for increasing soils alkalinity, pH; Low pH can cause poor fertilizer response and soil structure
- Most plants grow well in a pH between 6 and 7, with 6.5-6.8 being ideal; below 6.0 Many nutrients cannot be absorbed
- Adding garden lime will increase the pH and make those nutrients available again; test soil pH before applying
No products found.
How to Repot Hydrangeas Step by Step
How to Repot Hydrangeas Step by Step. Here are the steps to successfully repot hydrangeas:
1- The first thing to do is to prepare the soil in which we are going to place the plant. Use a mixture with soil for acidophilic plants or previously acidified and, if possible, very rich in organic matter. We recommend this soil for repot hydrangeas (Order it here).
2- Take the hydrangea cuttings, seedlings, or potted hydrangea that you want to repot. If you have to pull the plants out of the ground, do it very carefully so as not to damage their roots. If they are very crowded because they are old plants, try to loosen them as much as possible with your hands and carefully.
Also, when repotting hydrangeas, make sure that the hydrangeas are in good condition and that the soil is in good condition. If you see or suspect that there is rot, you will have to prune the parts in bad condition and not water the plant for several days, and if you see or think that there is a fungus or other parasites you will have to apply an appropriate treatment (Order it here).
3- Place the plant in its new soil and remember to cover the roots and the base of the stem with soil. It is important to keep in mind that the pot should be larger than the previous one, as well as to place it in the shade for the first few days so that the sun does not stress the plant while it acclimatizes.
4- Maintain humidity in the first days, watering frequently but not waterlogging, and be sure to be wetting the soil and not the plant.
Repotted Hydrangeas Care
Repotted Hydrangeas Care. A newly repotted hydrangea is especially delicate until it has become accustomed to its new location, so be particularly careful with it. Follow these tips:
- Give it a sheltered, semi-shaded location, protected from direct sunlight but with some natural light.
- Keep the soil moist with frequent watering, but not too abundant so as not to drown the plant. It is always better not to wet the leaves when watering.
- Check the acidity of the soil to make sure it is adequate for your hydrangeas.
- Important! Depending on the amount of lime in the tap water in your area, it may alkalinize the soil too much if you water with it. It is always best to use rainwater or mineral water when watering hydrangeas to prevent this from happening. That’s why checking and adjusting the soil pH needs to be a regular practice when growing hydrangeas.
We hope that this article on How to Repot Hydrangeas and When to Repot Hydrangeas, will be useful and that you will have excellent repotting with your plants. Learn more about How to Grow Hydrangea from Cuttings. We also recommend a book that helped us a lot with our hydrangeas (Order it here).