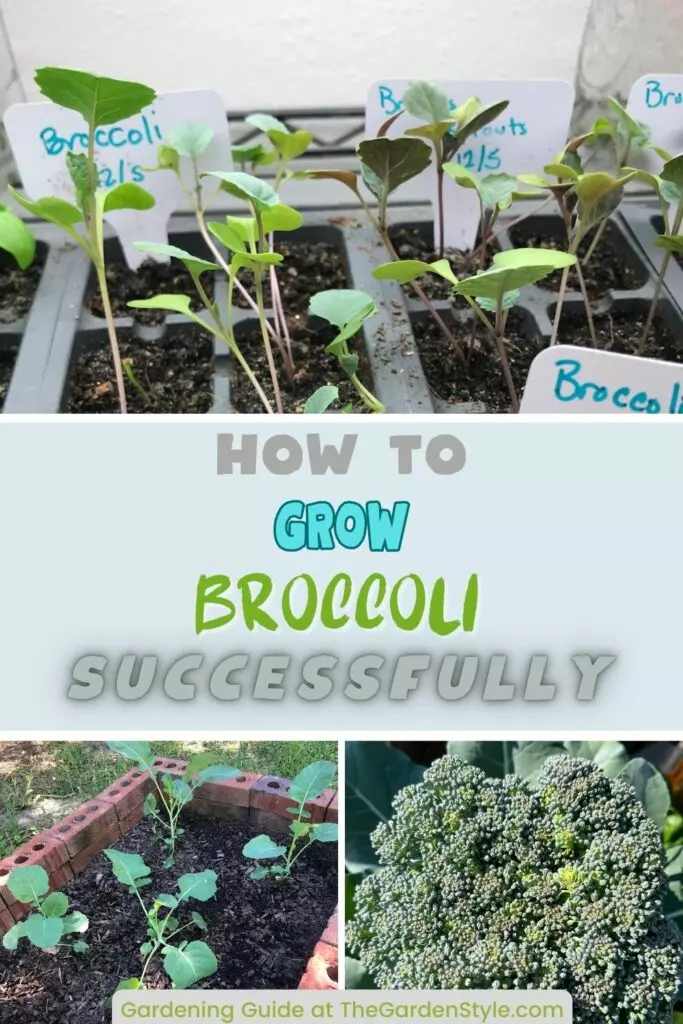
Broccoli is one of the most popular and nutritious vegetables to grow in the home garden. When properly cared for, broccoli thrives and produces an abundant harvest. Follow this comprehensive gardening guide for beginners from growing broccoli from seeds to harvesting successfully.
Table of Contents
Choosing a Broccoli Variety to Grow
Selecting the right broccoli variety is the first critical step for a successful crop. There are many options to consider when it comes to hybrid vs. heirloom types, maturity dates, and head sizes. Do your homework to pick the best varieties suited to your growing conditions and needs.
Hybrid vs. Heirloom
When selecting a broccoli variety to grow, you’ll first need to decide between a hybrid and an heirloom type. Hybrids are bred for traits like disease resistance, uniform growth, and productivity. Heirlooms have more unique flavors and colors.
To help you select, here is a table comparing some top recommended hybrid and heirloom varieties for growing in the USA:
| Variety | Type | Days to Maturity | Notes |
| Green Magic | Hybrid | 68 days | High-yielding; heat tolerant |
| Lucky | Hybrid | 75 days | Consistent 6-8″ heads; good for spring/fall crops |
| Gypsy | Hybrid | 60 days | Fast-growing; produces side shoots after main head |
| Waltham | Heirloom | 85 days | Cold hardy; heirloom with great flavor |
| Italian Green Sprouting | Heirloom | 90 days | Large central head; nutty flavor |
| Purple Peacock | Heirloom | 70 days | Stunning purple heads; disease resistant |
The hybrids offer great productivity, consistency, and disease resistance, while the heirlooms provide more unique flavors and cold hardiness. Consider your climate and priorities when selecting among the top varieties for the USA.

- Beautiful – Large premium packet of Waltham 29 Broccoli (Brassica oleracea) seeds. A reliable heirloom that produces 5-6″ blue-green heads and an abundance of side shoots. Waltham 29 is adapted for both drought and cold tolerance. Minimum of 750 mg per packet (275 seeds).
Maturity Date
Consider the number of days to maturity for the variety. Look for one suited to your growing season. Some mature in under 60 days, while others take 80 days or more.
Head Size
Broccoli varieties produce heads in different sizes, from 6-12 inches (15-30 cm) across. Pick a size appropriate for your needs.
When to Plant Broccoli?
Knowing the optimal time to plant is crucial for a successful broccoli crop. Broccoli can be grown in both spring and fall seasons in most regions. The key is timing your planting properly based on expected frost dates.
Spring Planting
For a spring crop in most regions, start broccoli seeds indoors 4-6 weeks before the last expected frost date. Use individual cells or containers and a seed starting mix. Transplant the seedlings into the garden about 2-3 weeks before the average last frost date for your area. The ideal soil temperature for transplanting is at least 40°F (4 °C).
Fall Planting
You can also plant a second crop of broccoli for fall harvesting. Sow seeds directly in the garden 10-12 weeks prior to the expected first fall frost. That will allow enough time for the plants to mature before cold weather sets in. Make sure to choose a quick-maturing variety for fall planting. The optimal soil temperature for direct sowing is 60-85°F (15-29°C).
Check your local frost dates and adjust planting times accordingly. With proper timing, you can harvest broccoli in both the spring and fall seasons.
Preparing the Soil to Grow Broccoli
Proper soil preparation is vital to growing robust broccoli plants. Broccoli thrives in nutrient-rich, well-drained soil with a pH between 6.0-7.0. Before planting, take time to cultivate the optimal soil conditions.
Soil Nutrients: Broccoli needs nutrient-rich soil with compost worked in. Test your soil and amend it based on the test results.
Soil pH: Broccoli prefers a soil pH between 6.0-7.0. Add lime if your soil is too acidic. Learn more about how to measure soil pH.
Pre-plant Fertilizer: Till a balanced fertilizer into the top 6 inches (15 cm) of soil before planting. Compost also provides nutrients.
How to Grow Broccoli Step by Step
Planting is the next important step after selecting your broccoli varieties. Proper spacing, depth, and care when planting will give your broccoli seedlings the best start. Follow these key steps whether you choose to grow broccoli from seeds or seedlings:
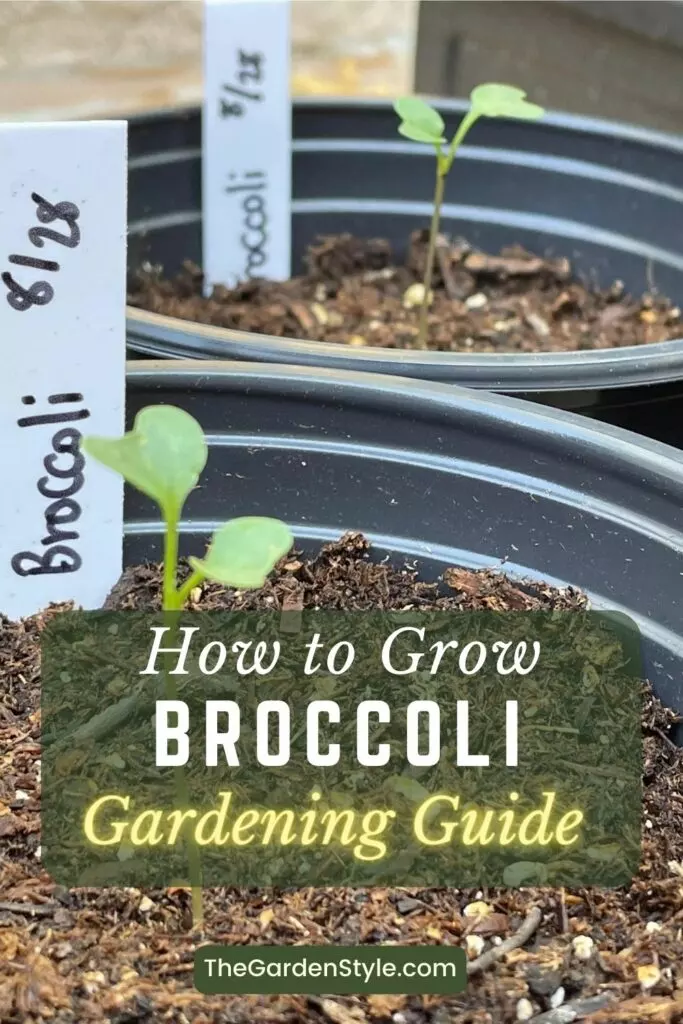
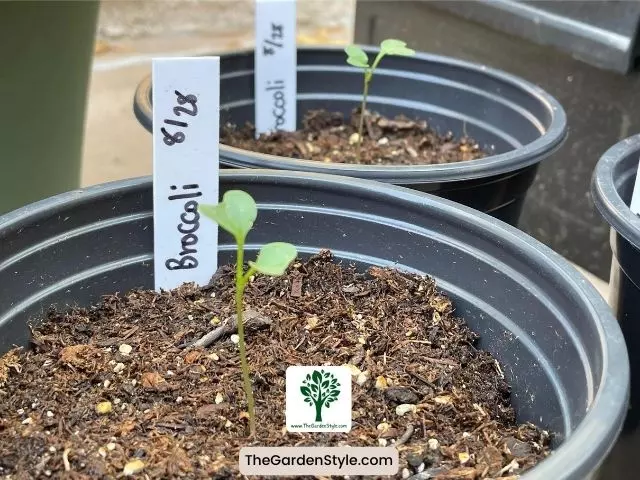
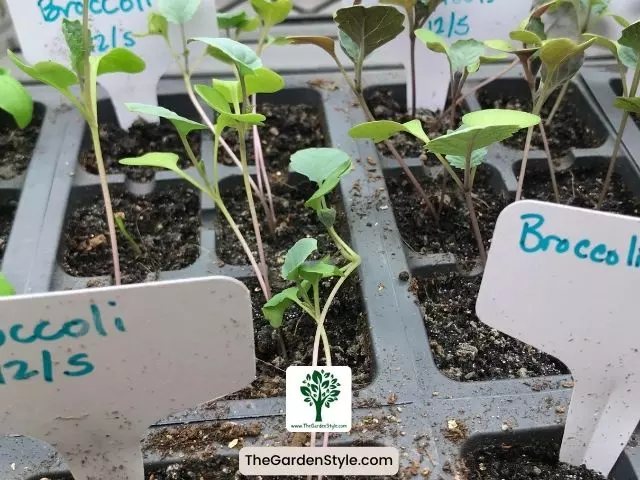
Step 1: Decide whether to start from seeds or buy seedlings. Seeds are cheaper but take longer to grow. Seedlings are quicker but cost more upfront.
Step 2: If using seeds, start them indoors 4-6 weeks before your last expected frost. Use a seed starting mix in containers.
Step 3: If using seedlings, buy them about 3-4 weeks before your last expected frost date. Select stocky, green, healthy plants.
Step 4: Prepare your garden beds in advance, till the soil, and mix in compost. Ensure proper soil nutrients and pH.
Step 5: Space rows 2-3 feet (60-90 cm) apart. Measure and mark where each broccoli plant will go.
Step 6: Dig holes or furrows for seeds/seedlings 18-24 inches (45-60 cm) apart within each row.
Step 7: Sow seeds 1/4-1/2 inch (0.6-1.2 cm) deep if direct seeding into the garden, then water well after planting.
Step 8: If using seedlings, plant them at the same soil level as their containers. Water seedlings after planting.
Step 9: Add mulch around plants to retain moisture. Monitor watering needs in early growth stages.
Step 10: Fertilize plants according to packaging instructions to fuel growth.

Caring for Broccoli
Proper care while your broccoli is growing will maximize your harvest. Pay close attention to watering, mulching, and fertilizing needs.
Watering
Broccoli requires consistent moisture, about 1-2 inches of water per week. Water stress can lead to poor head development. Use a drip irrigation system or soaker hoses to target the roots. Avoid wetting foliage, which can encourage disease. Learn more about the worst time to water plants.
Mulching
After plants are established, spread 2-3 inches of organic mulch like straw or leaves around plants. Mulch allows to conserve moisture, prevents weeds, and keeps roots cool. Replenish the mulch as needed throughout the season. Learn more about different types of mulches.
Fertilizing
About 3-4 weeks after transplanting or sprouting, begin applying a balanced vegetable fertilizer. Follow label instructions for dilution and application rates. Repeat every 3-4 weeks to fuel plant growth and head development. Too much nitrogen can cause excessive foliage instead of heads.
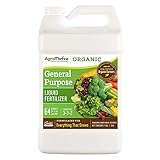
- 【POTENT FERTILIZER】Experience the potency of AgroThrive’s All Purpose Organic Liquid Fertilizer, a liquid fertilizer for indoor plants that delivers organic results in less than a week. Ideal for gardeners and farmers seeking a quick, effective, and natural houseplant food to boost their plants’ growth and health.
Pests and Diseases Damaging Broccoli Plants
As a brassica, broccoli plants can be susceptible to certain pests and diseases. Being aware of potential issues and taking preventative action is critical.
Common Pests
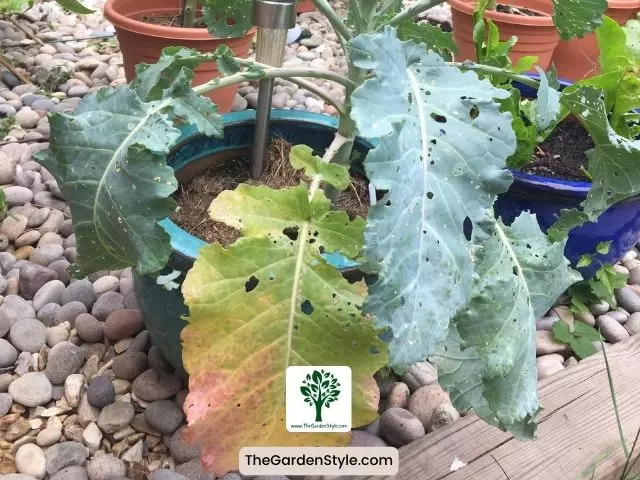
Some insects that may attack broccoli plants include cabbage worms, aphids, caterpillars, cabbage loopers, flea beetles, and harlequin bugs. Visually inspect plants frequently and handpick pests. Row covers can exclude pests when plants are young. Use organic insecticidal soap or neem oil as needed. Learn more about how to mix neem oil for plants.
Preventing Disease
Practice crop rotation each season to prevent disease buildup in the soil. Avoid planting broccoli in the same spot two years in a row. Learn more about the best companion plants for broccoli.
Provide good air circulation between plants through proper spacing and pruning. That prevents moisture buildup that can harbor diseases.
Water at the base of plants rather than wetting the leaves. That helps deter fungal and bacterial diseases like downy mildew, Alternaria leaf spot, or black rot.
Remove diseased plants promptly to avoid spreading issues. Clean up all plant debris in the fall to remove overwintering sites.
Choose disease-resistant varieties when possible and use preventative organic fungicides.
With vigilant monitoring, cultural practices, and organic treatments, if necessary, you can protect broccoli from ravaging pests and diseases.
Harvesting Broccoli
Knowing when and how to harvest broccoli is essential to get the best flavor and yield.
Identifying Maturity
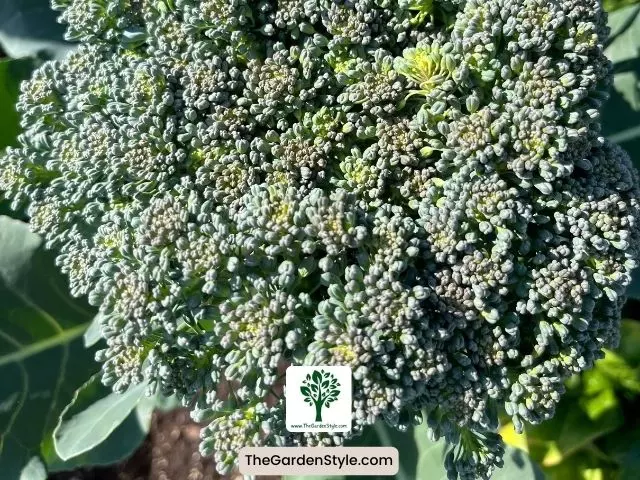
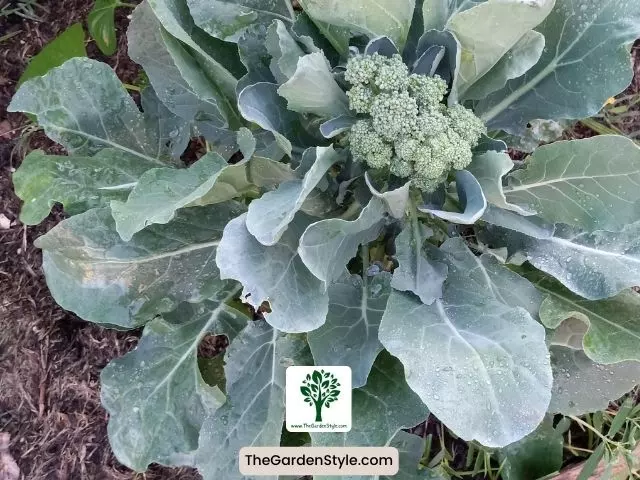
Check heads frequently as broccoli matures. Harvest when the head is fully formed and compact before individual florets start to loosen and flower. The head will look dark green and have tight bead-like buds. Stalks should be thick.
Knowing when to harvest broccoli is crucial to ensure it’s at its peak flavor and nutritional value. Harvesting too early or late decreases quality. Here are some indicators to help you determine when your broccoli is ready for harvest:
Head Formation: Look for a firm, compact broccoli head that is tight and dark green. The individual florets should be tightly packed together.
Size Matters: The size of the broccoli head is also an indicator. It should be of a decent size, typically around 6 to 8 inches in diameter, depending on the broccoli variety.
Check the Color: The color of the broccoli head is essential. It should be a dark green or purple hue, depending on the variety. Avoid harvesting if the color is yellowing, as it may indicate overripeness.
Inspect the Buds: Examine the buds within the broccoli head. They should be tightly closed. If you see open or flowering buds, it’s a sign that the broccoli is past its prime.
Timing: Most broccoli varieties mature within 70-100 days from planting. Check the seed packet or plant label for the expected harvest time. Start monitoring your broccoli as it approaches this timeline.
Use the “Fingernail Test”: Perform a “fingernail test” by pressing your fingernail against one of the florets. If it leaves an indentation but doesn’t break through the surface, the broccoli is ready. If it’s too hard or if the bud breaks apart easily, it may be under or overripe.
Harvest Before Flowering: Harvest broccoli before it starts to flower. Once the tiny yellow flowers begin to appear in the center of the head, the broccoli’s quality declines.
Cutting the Head
Use a sharp knife to cut the main head off the plant, leaving about 6 inches (15 cm) of stem attached. Cut at an angle. Be careful not to damage any side shoots near the head, as these will form smaller heads later.
Continued Harvesting
Within a week after cutting the central head, smaller side shoots will start developing along the plant. Monitor these shoots and cut them once the buds swell before flowering. Side shoots can be harvested for several weeks, extending the broccoli’s productivity.
Post-Harvest Care
After cutting, immediately place heads in a cooler or refrigerator to retain flavor and texture. Broccoli should not sit out in hot weather. Consume, freeze, or preserve harvested broccoli as soon as possible.
With the right timing and care in harvesting, one broccoli plant can provide an abundant ongoing harvest.
Storing and Preserving Broccoli
Broccoli maintains its best quality when properly stored or preserved soon after harvest.
Refrigeration
For short-term storage, refrigerate broccoli immediately after harvest. Then, place florets and stalks in a perforated plastic bag in the crisper drawer. Broccoli keeps for 7 to 10 days refrigerated at 32-40°F (0-4°C). Mist heads occasionally with water if they start to dry out.
Freezing
For longer-term freezing, first blanch chopped broccoli for 2-3 minutes to stop enzyme action. Blanching broccoli before freezing helps preserve its color, flavor, and nutritional value. Then, immerse in ice water. Drain, pat dry, and pack into freezer bags or containers, leaving 1/2 inch (1.2 cm) headspace. Blanching can be done before or after chopping broccoli. Blanching broccoli before chopping requires a few more minutes.
Dehydrating
Wash and trim broccoli, cut into florets, and slice stems. Blanch for 1 minute, then drain well. Arrange in a single layer on dehydrator trays and dry at 115-125°F (46-52°C) until crispy, about 6-15 hours. Store in airtight containers.
Pickling
Trim and slice stems and cut broccoli florets into pieces. Soak in brine solution overnight, then pack into sterilized jars with vinegar solution and process in a water bath canner. Refrigerate pickles after opening.
Canning
Cut broccoli into pieces and blanch for 3 minutes. Pack into hot sterilized jars, cover with boiling water or broth, and process in a pressure canner for safe long-term shelf storage.
Conclusion
Growing a healthy crop of broccoli takes some time and effort. Still, with the right variety choice, planting schedule, soil preparation, and care, you can enjoy an abundant harvest. Proper harvesting and storage methods will help you enjoy your homegrown broccoli for months to come. With patience and care, you’ll be rewarded with nutritious, flavorful broccoli.
Frequently Asked Questions (FAQs)
Harvest broccoli when the head is firm, compact, and dark green, typically 6-8 inches in diameter. Check for tightly closed buds and vibrant color, avoiding yellowing or flowering. Perform a “fingernail test” to gauge readiness. Harvest before flowers appear. Consult the expected maturity time on the seed packet. Regular monitoring ensures optimal flavor and nutritional value.
Hollow stems are usually caused by growing broccoli in temperatures that are too high, uneven watering, or lack of boron in the soil.
Yes, broccoli makes a great companion for many plants. Some good options are potatoes, beans, onions, garlic, and thyme.
Properly stored broccoli will last for 7-10 days in the refrigerator. Mist the heads with water if they start to dry out.
If your garden space is limited, you can grow broccoli in containers that are at least 18-24 inches wide and deep. Plant broccoli seedlings or seeds at least 12 to 18 inches (30 to 45 cm) apart in the container. This spacing ensures that each plant has enough room to develop a healthy head and prevents overcrowding, which can lead to competition for nutrients and hinder growth. Make sure to use potting mix and fertilize regularly in containers.
Save these pins for later so you can use this gardening guide on how to grow broccoli.