Cacti are fascinating and resilient plants, but they require specific care to thrive. In this guide, we’ll explore the essential aspects of cactus care, covering everything from understanding their types to effectively dealing with pests and everything in between.
Table of Contents
The Right Soil for Cactus
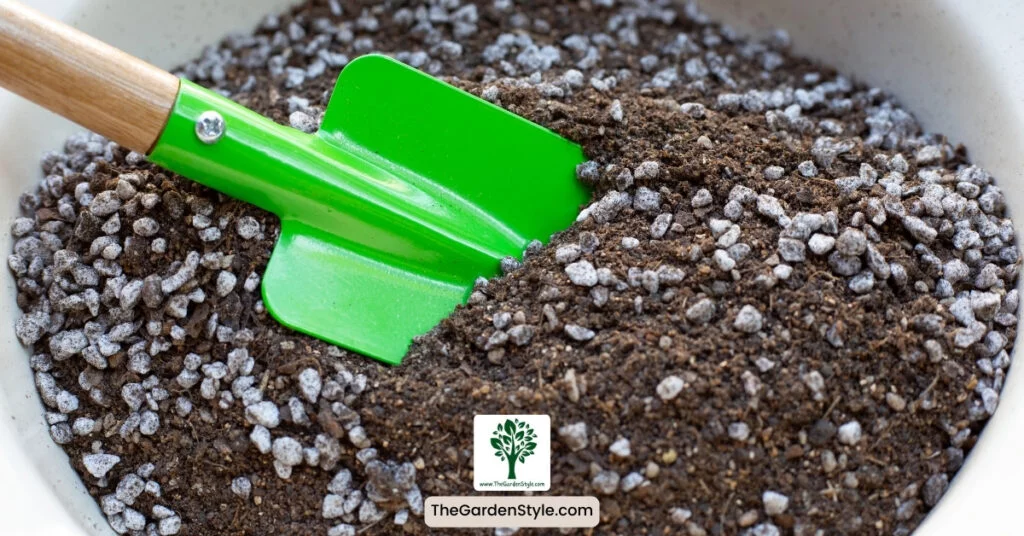
Using the right substrate is essential for cactus care. Cacti need fast-draining soil that won’t retain moisture. A great homemade blend is:
- 1 part potting soil
- 1 part coarse sand
- 1 part perlite or pumice
Mix equal parts of each ingredient. The sand and perlite provide drainage, while the potting soil supplies nutrients.
You can also purchase a commercial cactus/succulent soil mix. Look for bags specially formulated with a porous blend, including ingredients like sand, gravel, or vermiculite. Avoid regular potting soil, as it will stay too wet.
- FOR USE ON: Use as a potting soil mix for all succulents, cactus, palm, and citrus including Jade Plants, Burro’s Tails, Aloe Vera, Barrel & Christmas Cactus.
Choosing The Right Pot for Cactus
The size and material of your cactus pot play a crucial role in its well-being. It’s essential to steer clear of specific materials and avoid using pots that are disproportionately large compared to the size of your cactus.
Cactus Pot Size
When it comes to selecting pots for your cacti, the right size is crucial for their well-being. Follow the general rule that suggests the pot should be approximately 5% to 10% larger than the size of the cactus. Additionally, ensure there’s a minimum of one to two inches (about 2.5cm) of space around the cactus on all sides. Providing this room allows the cactus to thrive, grow, and spread within the pot.
Providing your plant with an excess of space in large pots can spell doom! Rapid root spread in such scenarios hinders proper plant growth. On the flip side, cramming cacti into very small pots also leads to suffering, as the roots wither due to a lack of sufficient space for growth.
Cactus Pot Material
Beyond size, the material of the pot is a crucial factor in choosing a home for your cactus, a vital aspect of cactus care. Each material has unique properties to consider. The best options include:
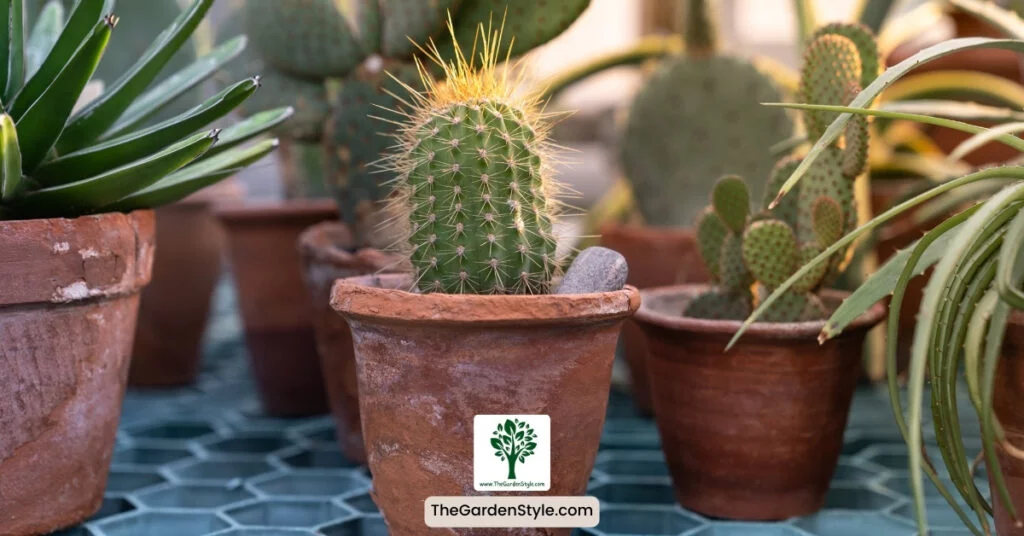
Terracotta: Breathable and Classic
Pros: Terracotta pots are breathable, allowing excess moisture to evaporate, preventing overwatering. They are classic and visually appealing.
Cons: They may dry out faster, requiring more frequent watering.
Ceramic Pots: Stylish and Versatile
Pros: Ceramic pots come in various styles and colors, adding a touch of flair to your cactus display. They retain moisture well.
Cons: Some may not have drainage holes. So, be cautious about overwatering.
Plastic: Lightweight and Durable
Pros: Plastic pots are lightweight, making them easy to move around. They retain moisture and are durable.
Cons: They may not provide as much breathability as terracotta.
Materials to Avoid:
Glass: Traps Heat and Limited Drainage
Cons: Glass pots can trap heat, potentially harming your cactus. They often lack drainage holes, leading to water accumulation.
Metal: Prone to Overheating
Cons: Metal pots can heat up quickly, risking root damage. They may not be the best choice for cacti prone to overheating.
Watering Cactus
Cacti store water in their stems, so they don’t require frequent watering. Check the soil every 2-3 weeks and water only when the top few inches are completely dry. Overwatering leads to root rot. Underwatering is better than overwatering. Allow soil to dry out entirely between thorough waterings. In summer, water every 10-14 days if the soil is dry. In winter, water even less when plants are dormant. After watering, empty the excess water from the saucer. Soak thirsty plants to plump up wrinkled, shriveled leaves, but don’t leave in standing water. Proper watering prevents scabbing and rot while keeping cacti hydrated.
Recommend reading: Why Is My Cactus Turning Yellow?
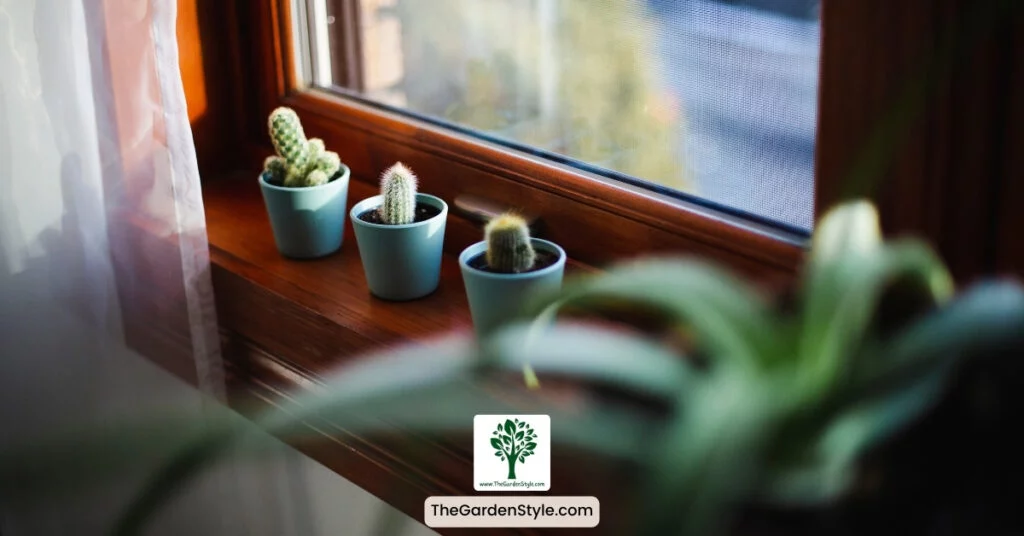
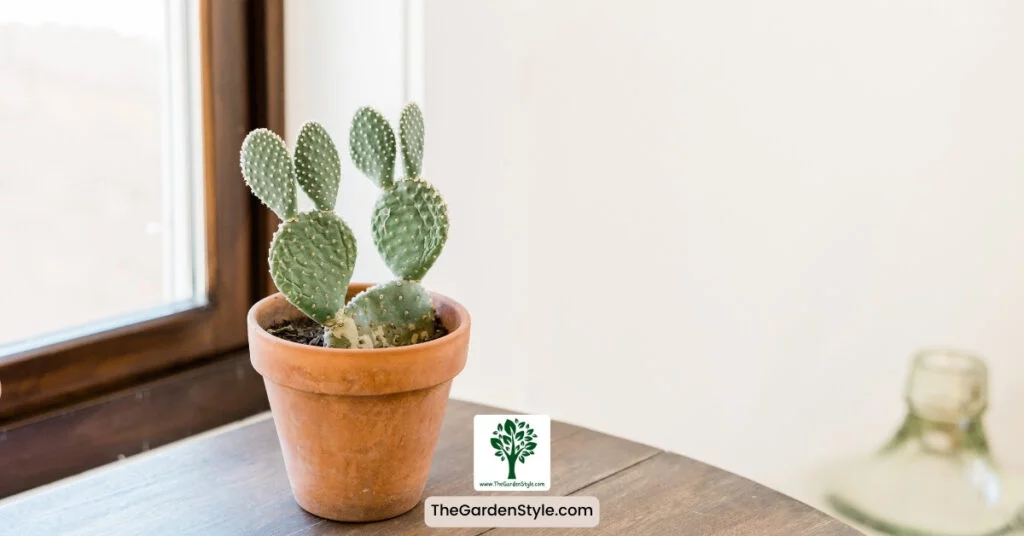
Sunlight Exposure
Cacti thrive with abundant sunlight. Place them in the sunniest spot indoors near a south or west window. In summer, move outdoors when nighttime temps are above 50°F (10°C). Acclimate indoor plants slowly before putting them outside to avoid sunburn. Provide outdoor cacti with some shade initially, gradually increasing light exposure over 7-10 days. Give cacti at least 6 hours of direct sun daily. Rotate pots so all sides get light. Monitor for scorching and move plants if they turn yellow or brown. Avoid drafty areas and keep them above 50°F (10°C) in winter. With ample sunshine, cacti will thrive.
Temperature for Cactus
Temperature is vital for cactus health. Cacti thrive in warm conditions with daytime temps between 70-90°F (21-32°C) and nights around 50-70°F (10-21°C). In winter, keep indoor cacti above 50°F (10°C) to prevent damage from cold. Move outdoor container plants into a sheltered space if frost threatens. During hot summers, provide shade to prevent scorching or bring containers inside. Avoid placing cacti near heating/cooling vents or drafty areas. With a stable, warm environment, your cactus will flourish!
Fertilizing Your Cactus
Cacti need minimal fertilizer. Excess nutrients can harm the plant. During active growth in spring and summer, fertilize monthly using half-strength liquid fertilizer diluted in water or granular fertilizers. Choose an all-purpose or low-nitrogen formula. In fall and winter, when it is dormant, fertilize every 2-3 months. Diluted liquid fertilizer provides cacti with sufficient nutrients without overfeeding. Cut back on fertilizing to avoid damage and encourage healthy growth.
Dealing with Pests
Regularly inspect your cacti for any signs of bug infestations as part of proper cactus care. Mealybugs, spider mites, and scale insects are common pests. Catch them early and remove them by hand or use neem oil. Separate affected plants to prevent spreading. Root mealybugs hide in the soil, so repot plants if you suspect their presence. Quarantine new cacti for 2-3 weeks before adding to your collection. This prevents pest spread. Learn more about how to mix neem oil for plants.
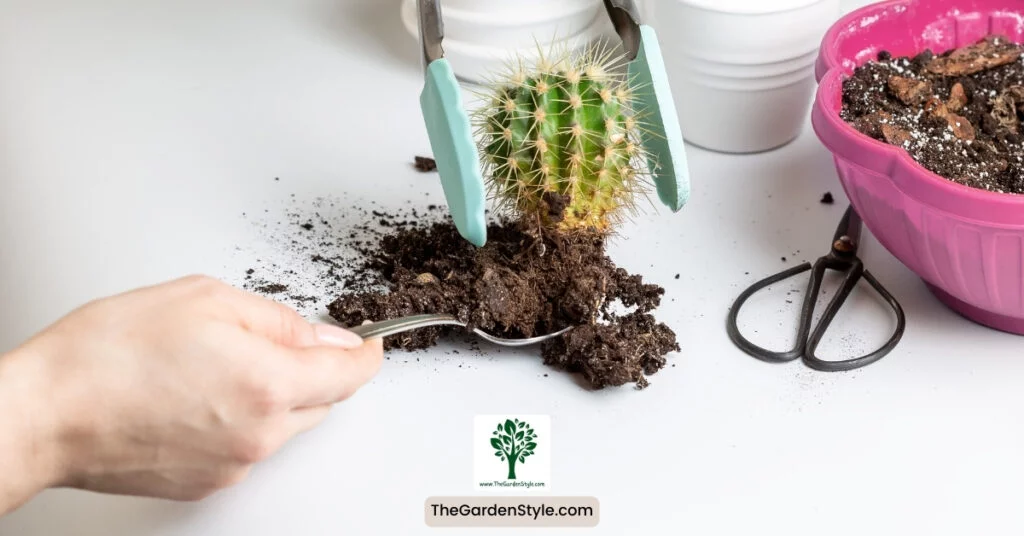
How to Repot Cactus
When a cactus becomes pot-bound, it’s time to move it to a larger container. Choose a new pot just 2-3 inches wider than the current size. Going much bigger prevents the roots from spreading out as they should. A slight increase in pot size allows the cactus adequate room to grow without leaving too much excess space around the roots.
Here are concise steps for repotting cacti for beginners:
- Choose a pot that is only 2-3 inches wider than the current container. Going too big can prevent roots from spreading out properly.
- Make sure the new pot has drainage holes.
- Fill the new pot 1/3 with fresh cactus soil mix.
- Gently remove the plant from the old pot and loosen the roots.
- Place the plant in a new pot and fill the sides around with more soil.
- Firm down the soil, leaving 1 inch of space at the top.
- Water thoroughly until it drains out the bottom.
- Allow the cactus to recover in the shade for 1 week before exposing to full sun.
Use a sharp knife to trim any crushed or circling roots. Handling carefully avoids damage during repotting. With a roomy new home just slightly more significant than the old one and fresh soil, your cactus will flourish!
Recommended reading: How to Grow Cactus from Seed
Cactus Care Tips
Here are some critical tips for caring for cactus plants:
- Choose the suitable cactus for your climate – select drought-tolerant true cacti if you live in a dry environment or jungle cacti for more humidity.
- Use a fast-draining cactus soil mix – Mix in sand or perlite to improve drainage in regular potting soil.
- Water thoroughly but infrequently – Let the soil dry out completely before watering again.
- Provide plenty of sunlight – Place in a sunny south or west-facing window.
- Control temperatures – Keep above 50°F (10°C) in winter, and avoid high heat/drafts in summer.
- Repot every 2-3 years – Use a container with drainage holes and fresh soil.
- Watch for pests – Mealybugs, scale, and aphids are common cactus pests.
- Fertilize lightly – Use diluted liquid or granular fertilizer during growing seasons.
Follow these tips to keep your cactus healthy and thriving indoors or outdoors! Proper soil, sunlight, water, and care will allow it to grow vigorously.
Common Problems with Cactus
A healthy cactus starts with avoiding issues like root rot, pests, and sunburn. With attentive care, you can keep your plant thriving for years.
Preventing Root Rot
Root rot poses a significant risk to cacti, often arising from soil that retains too much water. Utilize a specialized cactus mix designed to provide the ideal environment for your cactus.
Keeping Pests at Bay
Pesky insects like mealybugs, aphids, and scale can infest cacti. Stop them in their tracks with these tips:
- Wipe leaves every few weeks using a damp cloth to remove debris where pests hide.
- Apply insecticidal soap or neem oil on any visible bugs. This natural solution kills common cacti pests.
- Quarantine new plants before introducing them to your collection.
Protect Against Scorching
Too much direct sun can burn cactus leaves. If you spot yellowing or browning, immediately reposition the plant to a shaded area. Use screens or shade cloths to filter sunlight for sensitive succulents. Prevent permanent damage by reacting quickly when you notice sunburn.
Conclusion
With their distinctive shapes and resilience, growing cacti can be a gratifying experience for both beginning and expert gardeners. By providing the proper soil, sunlight, water, and temperature conditions, you can keep your cactus healthy and thriving for years to come. Be sure to choose the right species for your environment. Provide ample sunshine, water thoroughly but infrequently, and protect from temperature extremes.
Frequently Asked Questions
Cacti require well-draining soil to prevent waterlogged roots. Use a specialized cactus mix or amend regular soil with perlite for better drainage.
The frequency of watering depends on factors like climate and the cactus species. Generally, allow the soil to dry out between waterings and adjust based on environmental conditions.
Repot your cactus when you notice it was outgrowing its current pot or if the soil has become depleted. Spring is generally a good time for repotting.
Cacti boasts a robust resilience, thriving even in the most scorching conditions, and they relish abundant direct sunlight. Optimal for bright rooms, these resilient plants flourish when placed in the sunnier corners of your home.